Blog Project Setup
Create a new project using the blank "Responsive" template. Add a blank page and given it a suitable name. Set up the page as decribed in the next section. Create a directory and give it a name or the year.
Site Structure
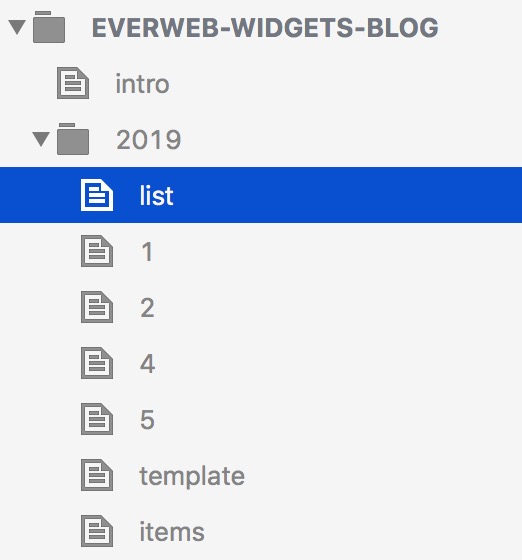
The screenshot of the basic site structure show the initial setup. The is a landing page named "intro" and a directory named after the year.
Note: The site name and all the page and directory names should be lower case and the words separated by hyphens.
Once the "intro" page is set up as described in the next section it can be duplicated and dragged into the directory.
Pages
Duplicate the page a couple of times creating pages for the post list, the template and the "items".
The template page is a blank page with the required page settings. It will be duplicated every time a new page is required.
The "items" page is used to set up all the frequently used items so that they can be copied and pasted to new pages as required.
An "items" page should have an h1 and h2 heading, a header and footer if a master page is not being used, navigation bar with signup and search, a comments section and a text widget.
Creating an items page can save a lot of time and ensures that all you pages content will have the same font, font sizes, colors etc.
As the blog progresses, more widget can be added to the items page if they are to be used more than once or twice.
Sections
When a new section is required, a new blank directory can be created and the template and "items" page dragged into it ready to start the new year or period.
Widget
This section of the content uses the RGL Blog Text Wrap widget. It has an h1 heading, lead in paragraph, an image, an h2 heading and the wrapped text paragraph. The image is set at a fixed width at browser/device widths above the break point. Below the break it becomes full width.
The break point in this case is set to occur for mobile phones in landscape mode.